 Pin This
 My nephew called me three days before the Fourth, voice crackling with excitement, asking if I'd make those layered treats he saw on his friend's Instagram. I hadn't planned anything special beyond the usual grilling, but something about his enthusiasm made me dig through my pantry that afternoon. Standing there with boxes of Rice Krispies and a bag of marshmallows, I realized this wasn't just dessert—it was a chance to make the holiday feel intentional, colorful, and a little bit magical for someone who still believed in those things.
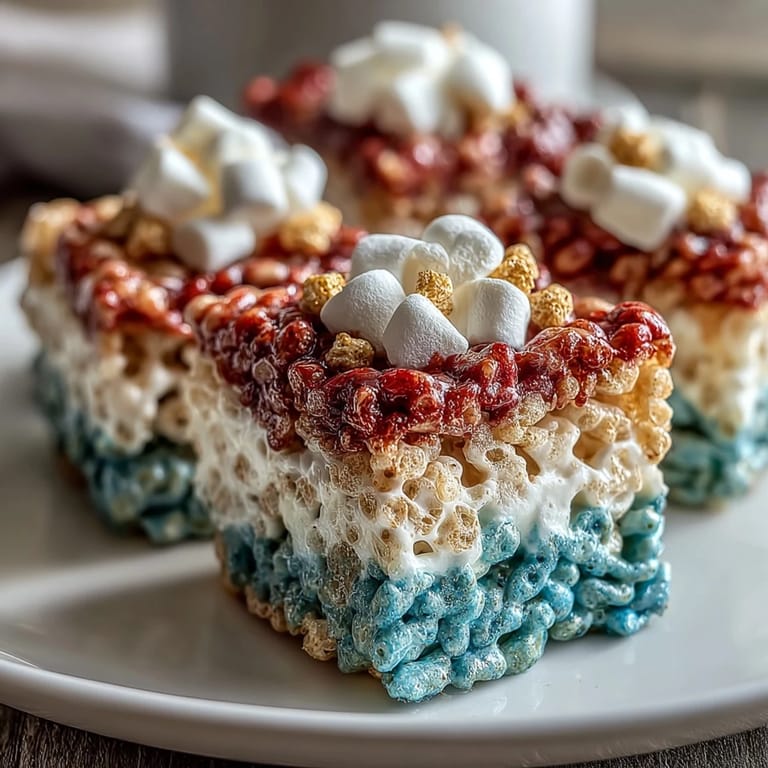
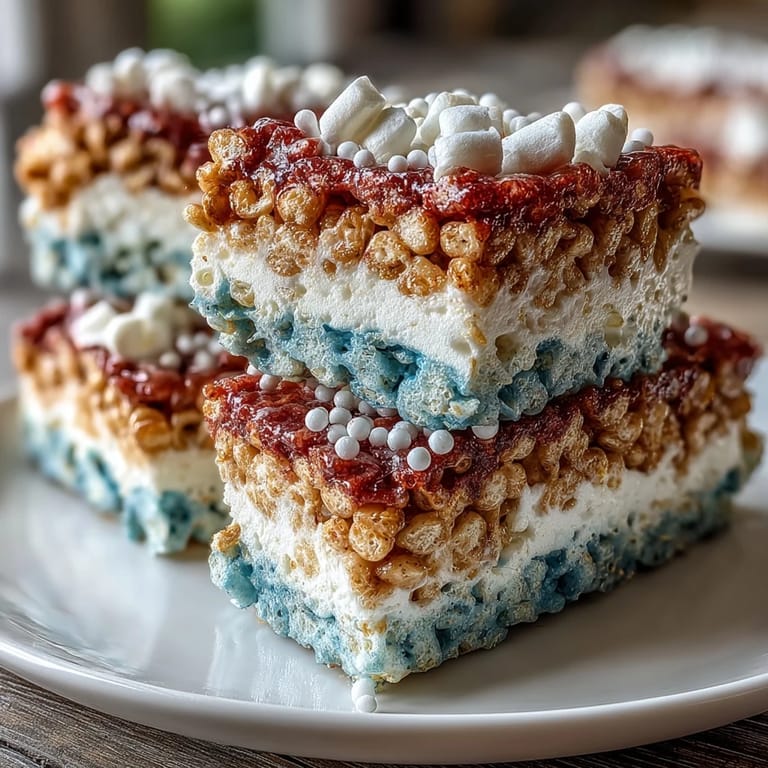
That Fourth of July, I pressed the final blue layer into place and my nephew appeared in the kitchen doorway, nose pressed against the counter edge, waiting. When I finally cut into the cooled pan an hour later, he grabbed a square and took a bite, then looked at me like I'd invented something entirely new. His friends came over later and demolished the entire batch within twenty minutes, arguing over who got the corner pieces where all three colors showed.
Ingredients
- Rice Krispies cereal: Use the original kind—quick oats or other cereals shift the texture entirely, and you lose that satisfying snap.
- Mini marshmallows: These melt faster and distribute more evenly than large ones, which saves time and guarantees smooth layers.
- Unsalted butter: You're dividing it across three batches, so measure carefully or you'll end up with one thin layer and two thick ones.
- Vanilla extract: Just for the white layer, giving it a subtle warmth that balances the sweetness of the outer colors.
- Gel food coloring: This is non-negotiable—liquid coloring turns the marshmallow mixture watery and ruins the texture completely.
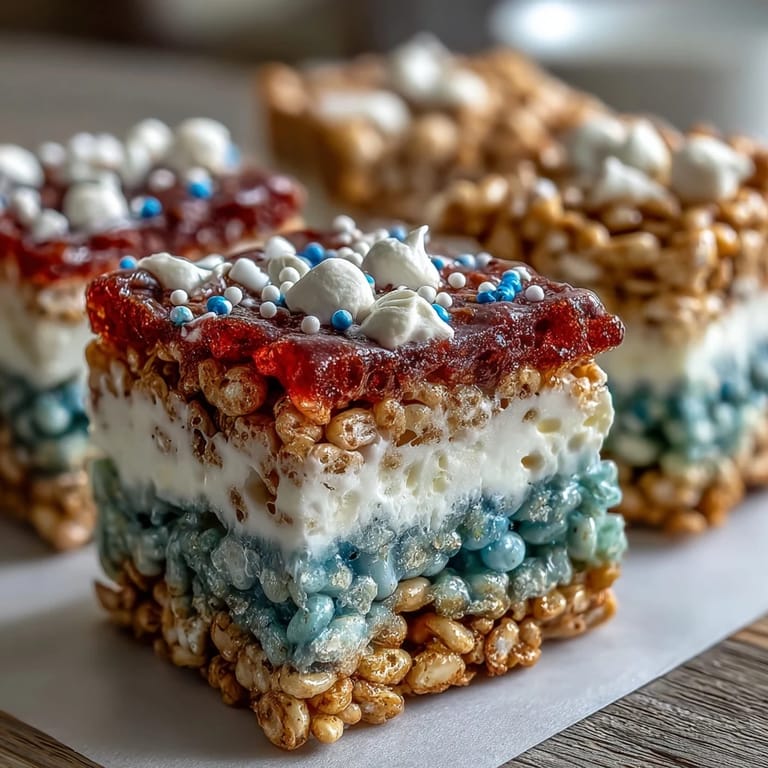
- Red, white, and blue sprinkles: Optional, but they catch the light and make the whole thing look intentional rather than accidental.
Tired of Takeout? 🥡
Get 10 meals you can make faster than delivery arrives. Seriously.
One email. No spam. Unsubscribe anytime.
Instructions
- Prep your pan:
- Line a 9x9-inch baking pan with parchment paper, letting the edges hang over slightly so you can lift the finished treats out without wrestling with them. A light grease underneath prevents sticking even with the parchment.
- Divide everything into thirds:
- Portion out your marshmallows and butter now while you're thinking clearly, not halfway through melting when your mind is already on the next layer. This rhythm keeps you organized and prevents the frustration of running short on one ingredient.
- Make the red layer:
- Melt butter over low heat, add marshmallows, and stir constantly until smooth and glossy—this takes about three minutes. Drop in red gel coloring a few drops at a time, stirring between additions, because it's easier to deepen the color than to lighten it if you overshoot.
- Add cereal and press:
- Toss in two cups of Rice Krispies, fold gently until every piece glistens with the marshmallow mixture, then press firmly into the pan using a greased spatula or your buttered hands. Don't be tentative here—you want it compact so the layers stay distinct.
- Repeat for white:
- Wipe the saucepan clean (a damp towel works faster than washing), melt the second portion of butter and marshmallows, and stir in vanilla extract for depth. Press this layer gently over the red, using enough pressure to set it without smashing the layer beneath.
- Finish with blue:
- Follow the same method with your remaining butter, marshmallows, and blue coloring, then top with the last two cups of cereal. The blue layer is where you can be a little gentler since there's nothing underneath to worry about.
- Sprinkle and set:
- If you're using sprinkles, scatter them across the warm top layer right after pressing—they'll stick better and look less like an afterthought. Then step back and let time do its job for at least an hour before cutting.
 Pin This
 Later that evening, after everyone had gone home and the kitchen was quiet again, I found my nephew sitting on the back porch with a wrapped square of leftovers, saving it for Monday at school. He told me he was going to be the kid with the patriotic treats, the one who brought something special. That's when I understood—this recipe isn't really about Rice Krispies at all.
Gel Coloring Changes Everything
The difference between gel and liquid food coloring isn't subtle in this recipe—it's the entire difference between success and frustration. Gel coloring sits on top of the marshmallow mixture and blends in smoothly, while liquid coloring releases water that breaks down the texture and turns everything grainy. I learned this the hard way by grabbing whatever was in the cabinet, and watching my white layer come out spotted and rough like old concrete.
Pressing Without Sticking
Your hands or spatula will be your best tools here, but only if they're greased enough to prevent the hot marshmallow from clinging to them like it has a vendetta. A light rub of butter on your palms or a quick spray of cooking oil on your spatula transforms this from an annoying sticky mess into a manageable rhythm. Some people use damp hands, but I've found that butter or oil creates a barrier that actually lets you feel the pressure you're applying.
Storage and Timing Tricks
These treats are technically ready after an hour of cooling, but I usually give them closer to two hours, especially if your kitchen is warm—warm treats are nearly impossible to cut into clean squares and will stick to the knife. An airtight container keeps them fresh for up to three days, though they're honestly best enjoyed within the first day or two when they still have that tender chew. If you're making these ahead for a party, cut them the morning of and lay them on parchment in a single layer before stacking or storing.
- Cutting with a hot, wet knife gives you cleaner edges than using a cold or dry blade.
- If you forgot to use parchment paper, run a thin knife around the edges to loosen the treats before trying to lift them from the pan.
- Room temperature storage works fine—there's no reason to refrigerate unless your house is genuinely sweltering.
 Pin This
 This recipe works because it lets you make something visually stunning without requiring any actual baking skills or timing anxiety. Every person who tries it walks away thinking you spent hours planning when really you just melted marshmallows and pressed them into a pan.
Frequently Asked Questions
- → What type of food coloring works best for vibrant layers?
Gel food coloring is recommended as it provides bright, vivid colors without affecting texture or moisture.
- → How can I prevent sticking while layering?
Lightly greasing your hands or spatula helps when pressing each colored layer into the pan to avoid sticking.
- → Can I prepare these treats ahead of time?
Yes, once cooled and set, these layered treats can be refrigerated and enjoyed within a few days.
- → Is it possible to add extra flavor?
Adding a pinch of salt or substituting salted butter can enhance the flavor profile.
- → What size pan is recommended for shaping the layers?
A 9x9-inch baking pan is ideal for creating even layers and easy slicing.