 Pin This
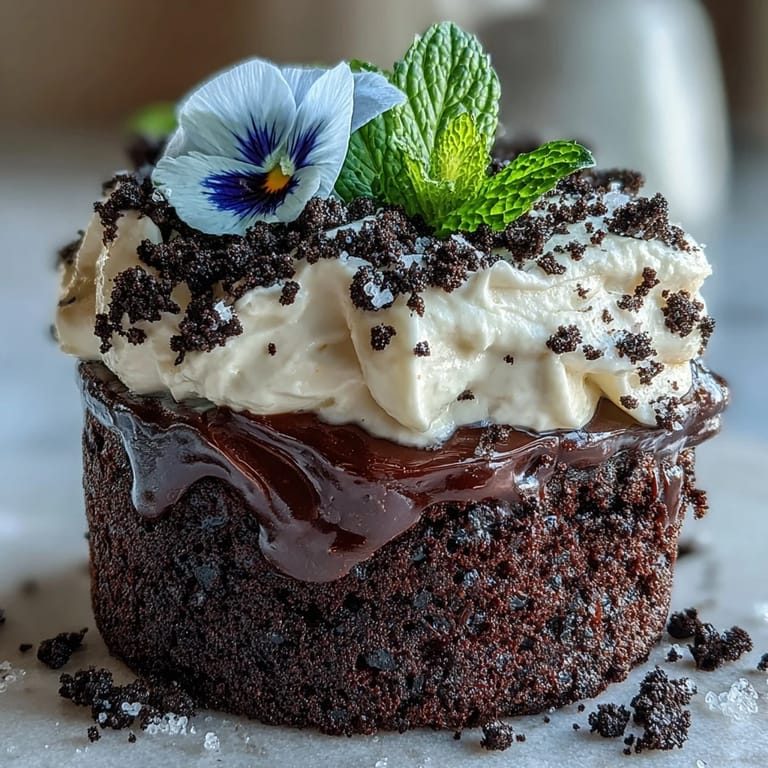
 The scent of melting butter mixed with chocolate always signals something magical happening in the kitchen, but making these Mother's Day Flower Pot Brownies took the magic up a notch. I remember my hands covered in Oreo crumbs and the slight panic when I realized just how much they resemble soil until I topped them with those vibrant edible blossoms. There's a childlike joy to crafting each little pot, and the way friends light up when they spot their "garden" on the dessert table is worth every sticky finger. Good food is supposed to be fun, and this recipe takes playful to a whole new level. These brownies are about laughter and surprise, not just sweetness.
The first time I brought these to our family brunch, my mom did a double-take and asked if I was trying to serve her garden soil for dessert. After a round of laughter, she dug in and declared it her favorite surprise of the day. Watching everyone carefully choose their flower and spoon out the layers underneath is a moment I love—somehow, the brownies taste even better eaten with a little curiosity and delight.
Ingredients
- Unsalted butter: Melting the butter gives the brownies their dense, fudgy texture and extra rich flavor—let it cool slightly for the smoothest batter.
- Granulated sugar: I learned not to skimp here, as the sugar helps form that much-loved crackly brownie top.
- Large eggs: Bringing eggs to room temperature blends everything into a silkier batter without overmixing.
- All-purpose flour: Measure carefully and don’t pack the flour, just a light spoonful keeps the brownies tender.
- Unsweetened cocoa powder: Always sift to avoid lumps, and use a cocoa you love for the deepest chocolatey taste.
- Baking powder: A little lift ensures the brownies aren’t too heavy for the flower pots.
- Salt: That pinch is what makes all the flavors sing; don’t skip it.
- Vanilla extract: A splash rounds out and deepens the chocolate notes.
- Oreo cookies: Smash the whole cookies, filling and all—the creamy centers keep the "dirt" just the right amount of clumpy.
- Heavy cream: Whip it cold straight from the fridge for lush, pillowy topping.
- Powdered sugar: Just enough to sweeten the cream and keep it stable.
- Edible flowers or colorful gummies: These triple-check the "wow" factor, but always make sure they’re food-safe.
- Fresh mint leaves (optional): A little green goes a long way for that fresh-from-the-garden look, and the hit of mint makes the dessert feel brighter.
Tired of Takeout? 🥡
Get 10 meals you can make faster than delivery arrives. Seriously.
One email. No spam. Unsubscribe anytime.
Instructions
- Prep the pots and oven:
- Set oven to 175°C (350°F) and line the bottoms of your mini flower pots with parchment—if you're improvising with ramekins, that works too.
- Melt and mix:
- Slowly melt butter in a small saucepan, then whisk in the sugar and vanilla until glossy and a little grainy to the touch.
- Add the eggs:
- Crack in eggs one by one, whisking carefully so the mixture thickens and shines.
- Combine the dry ingredients:
- Sift flour, cocoa, baking powder, and salt together, then fold them in just until no dry streaks remain—resist overmixing for fudgy brownies.
- Fill and bake:
- Spoon batter into each pot, keeping them about 2/3 full, then bake 20–25 minutes; check for moist crumbs on a toothpick before pulling them out.
- Cool completely:
- This is the hardest part—let the brownies cool so they don’t melt the cream later.
- Make the Oreo dirt:
- Pulse the Oreos (filling and all) in a food processor or bash them up with a rolling pin until they look just like rich earth.
- Whip the cream:
- Beat cold heavy cream with powdered sugar with an electric mixer until stiff peaks form; don’t walk away or you’ll make butter by accident!
- Assemble the pots:
- If using tray-baked brownies, cut them to fit pockets in the pots, then dollop on a thick cloud of whipped cream.
- Top with dirt and decorate:
- Scatter generous Oreo crumbs, then add edible flowers or gummies for blooms, and mint for a bright leafy touch.
- Chill and serve:
- Pop the completed pots in the fridge; let the flavors meld and the cream set before serving for best results.
 Pin This
 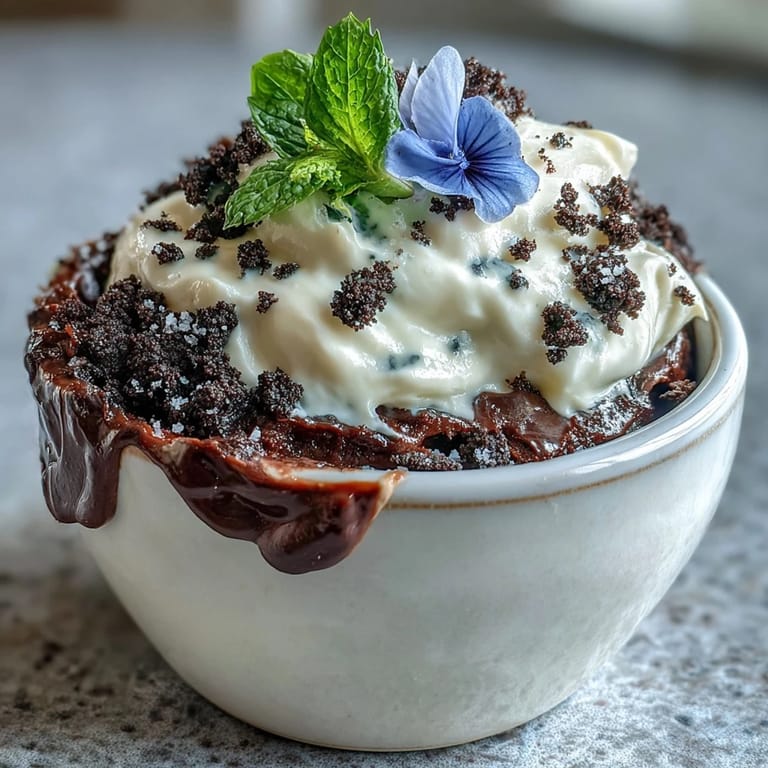 Pin This
 One year, my nephew insisted on "planting" some jelly worms under the Oreo dirt, and his giggles when someone dug one up made the whole day. The brownies brought everyone together, gathered around the kitchen counter, coaxing even the shyest guests to decorate a little pot and get their hands deliciously messy. Suddenly, dessert was an activity, not just the end of the meal.
Choosing The Right Flower Pots
Mini oven-safe flower pots are worth the hunt—they just feel more special, and I love seeing everyone cradle their dessert like a real potted plant. If you can't find them, ramekins or sturdy mugs work in a pinch; just make sure they're oven-proof and thoroughly clean before use.
The Art Of Oreo Dirt
Smashing the Oreos is oddly therapeutic, especially if stress-baking is part of your routine Like real soil the texture should have some clumps for realism not just dusty crumbs. The cream helps the crumbs stick to the whipped topping for that perfect "freshly potted" look. If making ahead, reserve some extra crumbs to sprinkle on top just before serving so everything stays crisp.
Unexpected Twists And Decoration Ideas
No two pots ever look the same and that's half the fun—sometimes I let everyone pick their own toppings from a little "garden bar." For spring, edible violas are beautiful, but candied violets or pastel gummies bring out the playful side. Mint leaves add a fresh pop of green that makes it all feel like a real miniature garden—even unrepentant chocoholics pause to admire the effect.
- Don't overfill the pots or the whipped cream and "dirt" can spill everywhere.
- Get creative with different cookies for the dirt—biscoff or chocolate wafers work too.
- Always double check your flowers are truly edible and not sprayed with anything.
 Pin This
 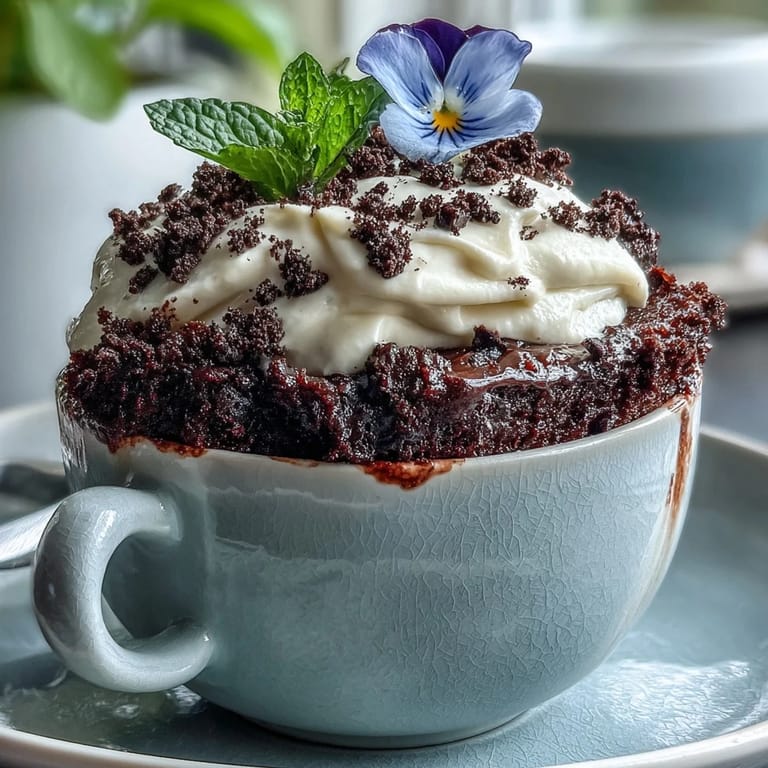 Pin This
 Here's to desserts that spark a little wonder and bring everyone together for a sweet moment—may your flower pots always be full, and your brownies even fuller.
Frequently Asked Questions
- → How long should I bake the mini flower-pot brownies?
Bake at 175°C (350°F) for about 20–25 minutes. Check with a toothpick—aim for moist crumbs rather than fully dry. Smaller pots may reduce bake time slightly; monitor after 18 minutes.
- → Can I bake the brownies in a tray instead of flower pots?
Yes. Bake in a lined baking tray, let cool completely, then cut rounds or squares to fit the pots. This is often easier if you don't have oven-safe pots.
- → What's the easiest way to get fine Oreo 'dirt'?
Pulse Oreos in a food processor until fine. Alternatively, place them in a resealable bag and crush with a rolling pin, working to remove large chunks for an even soil-like texture.
- → How do I keep the whipped cream stable for assembly?
Chill the mixing bowl and beaters first, use heavy cream and powdered sugar, and whip to stiff peaks. For longer stability, fold in a bit of mascarpone or use a tiny amount of gelatin according to package instructions.
- → Are edible flowers safe to use as decoration?
Use only flowers labeled food-safe from a trusted supplier or farmer's market. Rinse gently, remove stems, and avoid flowers treated with pesticides. Candied flowers or gummies are a safe alternative.
- → Can these be prepared ahead of time and stored?
You can bake brownies and store them airtight for 2–3 days, and keep crushed Oreos in a sealed container. Whip cream close to serving time; assemble and chill the finished pots for a few hours before serving.