 Pin This
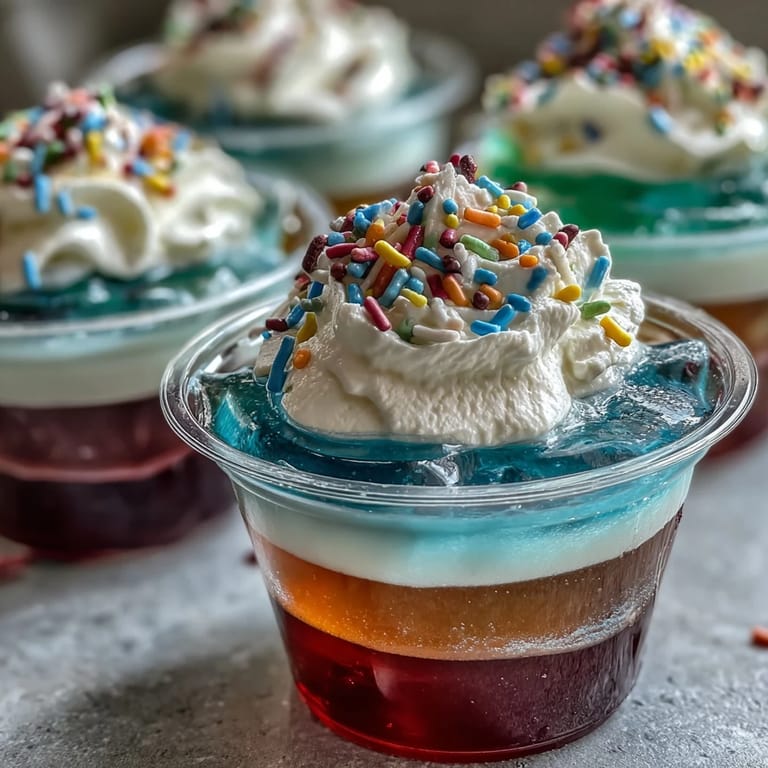
 When the kitchen filled with laughter and chaos last spring, I found myself juggling six boxes of vibrant Jello at once. That day, making Rainbow Jello Cups honestly felt like painting—with every flavor a new splotch in my edible canvas. I remember the fruity scent mingling with the cool, sharp note of whipped cream and sprinkles waiting in the wings. The anticipation for those layers to set was almost as sweet as tasting the finished cups. Even now, whenever I spot an array of colorful treats, I recall how unexpectedly joyful creating this dessert can be.
The first time I made these for my niece's birthday, the kitchen became a scene of eager patience—kids poking their heads in to check if the next color was ready. Even adults caught themselves peeking, refusing to let age curb their curiosity. Our counters sparkled with sprinkles, and everyone waited just a bit longer before diving in. Something about the simple layering instantly turned dessert into an event, and we cheered when the first cup was topped off. That day, I realized these cups work magic for special occasions.
Ingredients
- Strawberry (red) Jello: This flavor brings the boldest color—it always sets beautifully at the top.
- Orange Jello: The citrusy layer stands out and adds zing; dissolve thoroughly for clarity.
- Lemon (yellow) Jello: Bright and tart, it lightens the dessert midway and pairs well with others.
- Lime (green) Jello: Green offers a refreshing twist, so mix till there's no powder left.
- Berry Blue (blue) Jello: The cool blue is a visual favorite; let it set fully for a distinct line.
- Grape (purple) Jello: Starting with purple creates a strong base—stir gently for less foam.
- Boiling water: Hot water is key for smooth dissolution, so don't rush this step.
- Cold water: Cooling each batch helps the Jello set quickly and cleanly, leading to sharp layers.
- Whipped cream or whipped topping: Softer peaks make spreading easier—keep it cold until ready to serve.
- Rainbow sprinkles: Sprinkles add a fun crunch and a burst of color; scatter them just before serving for maximum effect.
Tired of Takeout? 🥡
Get 10 meals you can make faster than delivery arrives. Seriously.
One email. No spam. Unsubscribe anytime.
Instructions
- Start with the base color:
- Prepare grape (purple) Jello by mixing with boiling water, stirring until it dissolves fully, then blending in cold water. The aroma bursts out as you pour a thin layer into each cup—it's the foundation for rainbow magic.
- Chill for the first layer:
- Set the cups in the fridge and wait about 30–40 minutes; check that the layer is firm before moving on—your patience will pay off in crisp stripes.
- Build the colors:
- Repeat the process with each new Jello flavor: blue, green, yellow, orange, and red—pouring gently to leave each layer undisturbed. You'll notice the cups gradually transforming from simple to spectacular, and it's oddly rewarding.
- Top and finish:
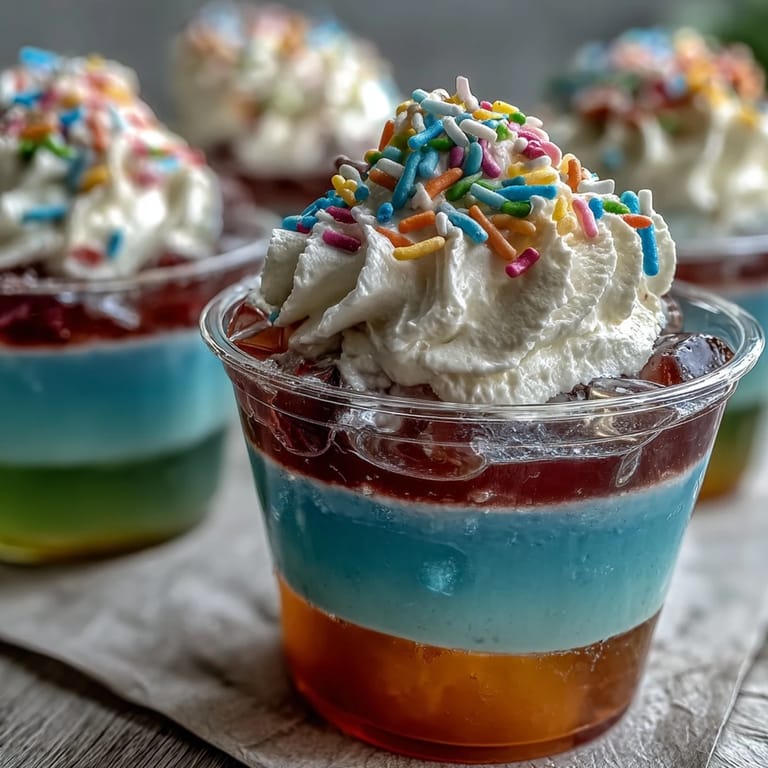
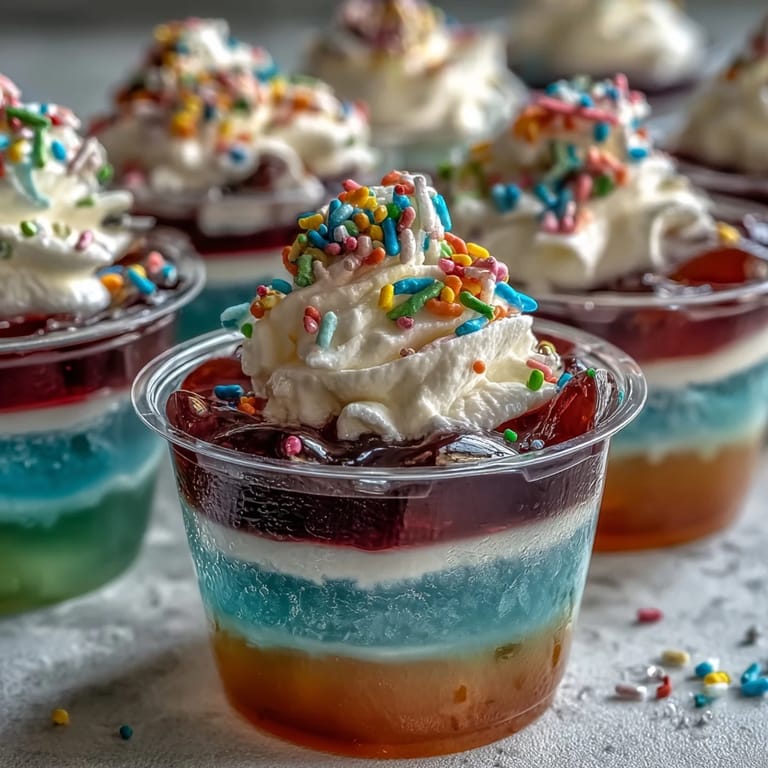
- When the final Jello layer is set, swirl whipped cream on each cup and dust with sprinkles. The contrasting textures and colors make them impossible to resist, especially chilled.
- Serve and celebrate:
- Let everyone choose their cup—the rainbow evokes excitement, and there's joy in seeing the first spoon break through layers.
 Pin This
 During a rainy afternoon, these Rainbow Jello Cups brightened up a little get-together. We swapped stories over the counter, watching the fridge timer tick down, and it felt like the waiting became part of the fun. When the layers finally appeared, I realized we'd bonded more over anticipation than eating. These cups transformed dessert into a shared moment, not just a sweet treat.
Clever Ways to Change Up Layers
I've tried mixing up flavors—raspberry instead of strawberry, pineapple instead of lemon—and found that swapping colors keeps the cups exciting. Sugar-free versions taste just as vibrant, and adding fruit between layers offers nice surprises. Sometimes using coconut whipped cream gives a tropical feel that's unexpectedly silky.
Common Kitchen Questions
A few times, I wondered if skipping setting time was possible, but the results always looked messy. Stacked layers need patience; a little discipline goes a long way. If ever a layer dips or distorts, just let it chill longer—the beauty returns every time.
Party Prep Tips for Big Batches
Setting up a production line with several mixing bowls and cups makes for smooth batch prep. Inviting kids to help with layering (and sprinkling) keeps everyone engaged and often sparks new color combinations. Watching palettes evolve right in your fridge is surprisingly satisfying.
- If making ahead, keep cups sealed so whipped cream stays fresh.
- Let people choose their favorite color for extra fun.
- Always chill thoroughly—warm layers droop and spoil the stripes.
 Pin This
 Whether for a birthday bash or just a rainy-day treat, these Rainbow Jello Cups always promise color and smiles. Try them once—the fun and flavor lingers long after the last spoonful.
Frequently Asked Questions
- → How many Jello flavors are used in these cups?
Six distinct fruity Jello flavors are layered: purple, blue, green, yellow, orange, and red.
- → Can I customize the layers and colors?
Yes, you can choose different flavors and colors as per preference or dietary needs.
- → What's the chilling time between layers?
Each Jello layer requires about 30–40 minutes of chilling before adding the next one.
- → Are there alternatives for whipped cream topping?
Coconut whipped cream or sugar-free whipped topping can be used for a lighter or dairy-free finish.
- → What tools are needed for preparation?
You'll need clear cups, mixing bowls, a whisk or spoon, measuring cups, and a refrigerator.
- → Is it suitable for vegetarians?
Yes, the dessert fits a vegetarian diet; always check ingredient labels for specific preferences.