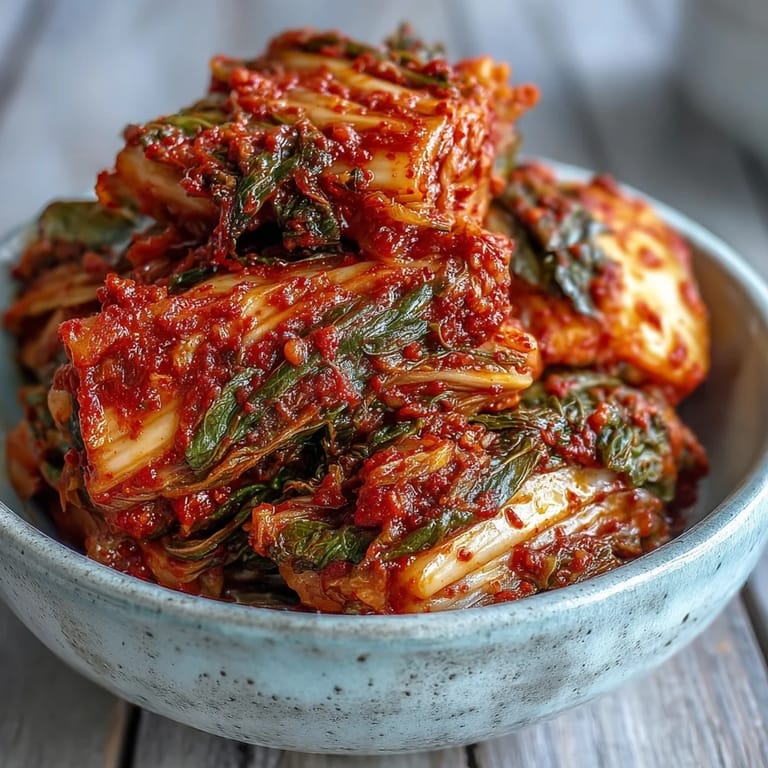
 Pin This
 My first batch of kimchi happened almost by accident—I'd bought a massive head of napa cabbage at the farmers market and somehow ended up talking to an elderly Korean woman in the produce aisle who, without my asking, launched into passionate instructions about fermentation. Three days later, my kitchen smelled like a bustling Seoul street market, and I understood why she'd been so animated about it. That first jar taught me that kimchi isn't just food; it's alive, evolving, tasting better each day you wait.
I made a double batch during a brutal winter when my roommate was sick, thinking fermented vegetables might help—spoiler alert, they do, but mostly I just wanted the comfort of making something with my hands. By day four, she was stealing spoonfuls straight from the jar while we watched old movies, and suddenly kimchi became our thing, our inside joke about healing food. That's when I realized fermentation is less about following rules and more about patience rewarding you.
Ingredients
- Napa cabbage (1 large head, about 1.2 kg): This is your foundation—the leaves should feel crisp and pale at the base, and quartering it lengthwise keeps the structure intact during brining.
- Daikon radish (1 medium, about 200 g, julienned): The subtle peppery sweetness cuts through the heat and adds an almost floral note that surprises people on first bite.
- Scallions (4, sliced): These add a gentle onion sharpness that softens over fermentation, becoming almost mellow.
- Carrot (1 medium, julienned, optional): I skip this sometimes, but when I include it, the sweetness balances spice in a way that makes the kimchi feel more complex.
- Coarse sea salt (80 g or 1/3 cup): The salt draws out water from the cabbage, creating its own brine—don't skip this step or substitute with table salt, which tastes harsh and metallic.
- Cold water (1.5 liters or 6 cups): Temperature matters; cold water keeps the cabbage crisp while it brines.
- Garlic (6 cloves, minced): Raw garlic mellows into something almost sweet-savory once fermentation begins, so use good garlic you'd actually eat raw.
- Fresh ginger (1 thumb-sized piece, peeled and minced): This provides warmth and a subtle spice that complements the chili without overwhelming it.
- Onion (1 small, roughly chopped): Blended into the paste, it becomes almost invisible structurally but adds depth that makes people ask what the secret ingredient is.
- Fish sauce (3 tbsp) or soy sauce for vegan: Fish sauce is umami in liquid form—it's funky and pungent on its own but transforms into savory gold once fermented; if going vegan, use tamari or coconut aminos for better depth than regular soy.
- Sugar (1 tbsp): Just enough to feed the fermentation process and round out the flavors without making it sweet.
- Korean red chili flakes, gochugaru (3–5 tbsp): This is where heat lives, and the amount is entirely personal—I start conservative and adjust on taste day two because it intensifies over time.
- Rice flour (2 tbsp): Creating a slurry with water thickens the paste so it clings to every cabbage leaf instead of pooling at the jar bottom.
Tired of Takeout? 🥡
Get 10 meals you can make faster than delivery arrives. Seriously.
One email. No spam. Unsubscribe anytime.
Instructions
- Prep your cabbage with intention:
- Quarter the napa cabbage lengthwise first, which keeps the leaves connected at the base and makes them easier to massage later. Then chop into rough 2-inch pieces—uniform enough to ferment evenly, rough enough to maintain texture.
- Brine the cabbage slowly:
- Dissolve that sea salt in cold water, add your chopped cabbage, and weigh it down with a plate so every piece stays submerged. Toss every thirty minutes for the full two hours—this isn't passive; the repeated contact helps the salt penetrate evenly and draws out moisture consistently.
- Rinse away the salt carefully:
- This step determines your final saltiness, so don't rush it. Drain, rinse thoroughly two to three times under cold water, then press gently with your hands to remove excess liquid without crushing the cabbage.
- Build your spice paste with layers:
- Heat rice flour and water together until it thickens slightly—this cooks out the starchy taste and creates a silky base. Let it cool completely before blending with garlic, ginger, onion, fish sauce, and sugar, then fold in your gochugaru by hand rather than blending it, which preserves the spice complexity.
- Massage everything together like you mean it:
- Combine your drained vegetables with the paste, then put on kitchen gloves and massage for a solid two minutes. You'll feel the paste distribute, the cabbage soften slightly, and everything transform from separate ingredients into something unified and glistening.
- Pack with precision and purpose:
- Press the kimchi into clean glass jars tightly, eliminating air pockets as you go, leaving exactly an inch of headspace at the top. Press down one final time so the brine rises slightly above the vegetables—this is your protection against unwanted mold.
- Ferment with patience and daily attention:
- Leave the jars at room temperature away from direct sunlight, and burp them daily to release the carbon dioxide that fermentation produces. The bubbling sound and smell shift each day, telling you the living process is working.
- Taste and transition to cold storage:
- After forty-eight hours, pop open a jar and taste—if it's tangy and complex enough for you, move it to the refrigerator where fermentation slows dramatically. It'll continue developing deeper flavors over weeks, but cold storage keeps it from becoming vinegary.
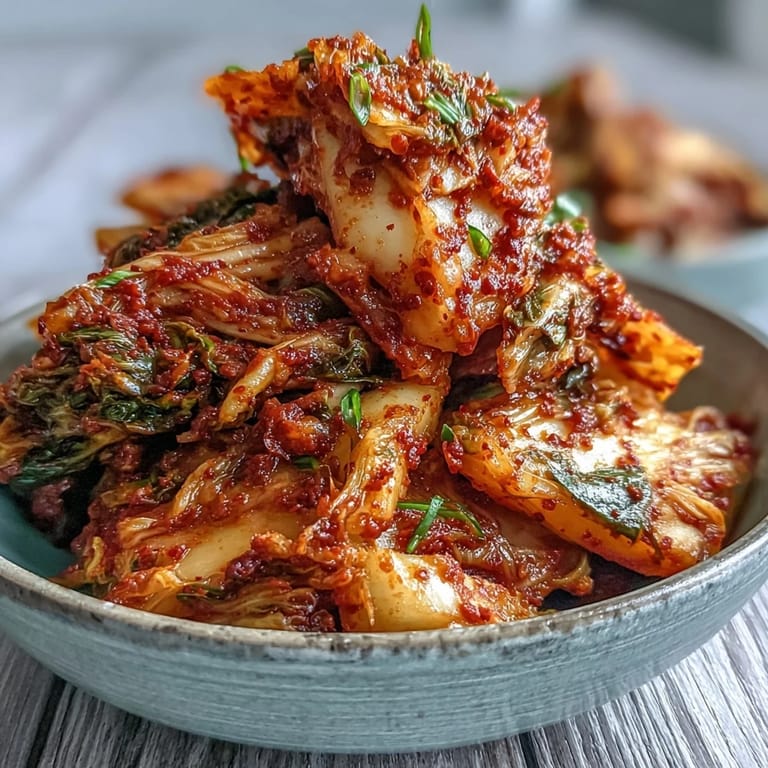 Pin This
 One winter evening, I opened my refrigerator to find jars of kimchi glowing under the cold light like little fermentation temples, and my partner—who'd previously dismissed anything spicy—reached past me and grabbed a spoonful without asking. We ended up eating it straight from the jar while standing in the kitchen, and he said it tasted like flavor had dimension, like depth and time were somehow in his mouth. That's the moment I stopped thinking of kimchi as a side dish and started understanding it as a quiet act of creation.
The Flavor Arc of Fermentation
Kimchi doesn't taste the same on day one as it does on day seven, and that's not a flaw—it's the point. During the first two days, the spice dominates and the flavors feel bright and sharp. By day four, sourness emerges as lactic acid builds, muting the raw heat slightly and introducing complexity that wasn't there before. After a week, everything melds into something almost mellow, where garlic becomes whisper-soft and the original chili heat transforms into warmth rather than punch.
Customizing Heat and Flavor Balance
If you prefer milder kimchi, reduce the gochugaru to two tablespoons and add a grated apple or pear to the spice paste—the natural sweetness rounds everything out and creates a different kind of complexity. For those who love vinegary funk, let it ferment longer and don't refrigerate immediately; for those who want to control the sour, cold storage is your friend because refrigeration essentially pauses the fermentation process. Some people add a tablespoon of sesame seeds or a few dried shiitake mushrooms for earthiness, though purists might object to that kind of innovation.
Storage, Serving, and Keeping It Alive
Properly fermented kimchi keeps in the refrigerator for two to three months, though honestly, it rarely lasts that long in most homes. Serve it as a side dish with rice and eggs, crumble it into soups, layer it into sandwiches, or eat spoonfuls straight from the jar at midnight when everyone else is sleeping. The brine is liquid gold—don't discard it, use it to dress vegetables or rice, or drink it for the probiotics.
- Always use clean utensils when removing kimchi from the jar to prevent contamination that could spoil the batch.
- If white mold appears on the surface, skim it off immediately—surface mold is usually safe and just means you need better headspace management next time.
- Keep at least one jar going at all times because homemade kimchi becomes part of your rhythm, your kitchen culture, and honestly, your identity.
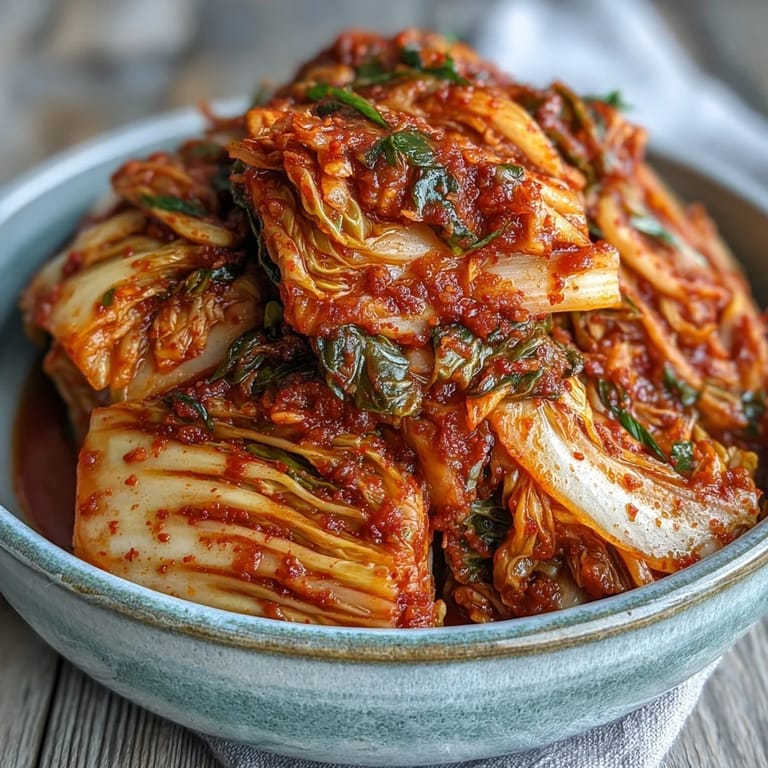 Pin This
 Fermentation teaches you patience in a world that demands speed, and kimchi taught me that some of the best things take time and living bacteria working invisibly in your favor. Once you understand this process, you'll never buy commercial kimchi again.
Frequently Asked Questions
- → How long does kimchi fermentation take?
Kimchi typically ferments for 1-2 days at room temperature until tangy, then continues developing flavor in the refrigerator over several weeks.
- → Can I make kimchi vegan?
Absolutely. Replace the fish sauce with soy sauce or vegan fish sauce alternative for a completely plant-based version.
- → What makes kimchi spicy?
Korean red chili flakes called gochugaru provide the signature heat. Adjust the amount from 3-5 tablespoons based on your spice preference.
- → Why is rice flour added to kimchi?
Rice flour creates a smooth paste that helps bind the spices and ensures even coating of all vegetables during the fermentation process.
- → How do I know when kimchi is ready?
Taste after 48 hours. When it reaches your desired level of sourness and tanginess, transfer to refrigeration to slow fermentation.