Pin This
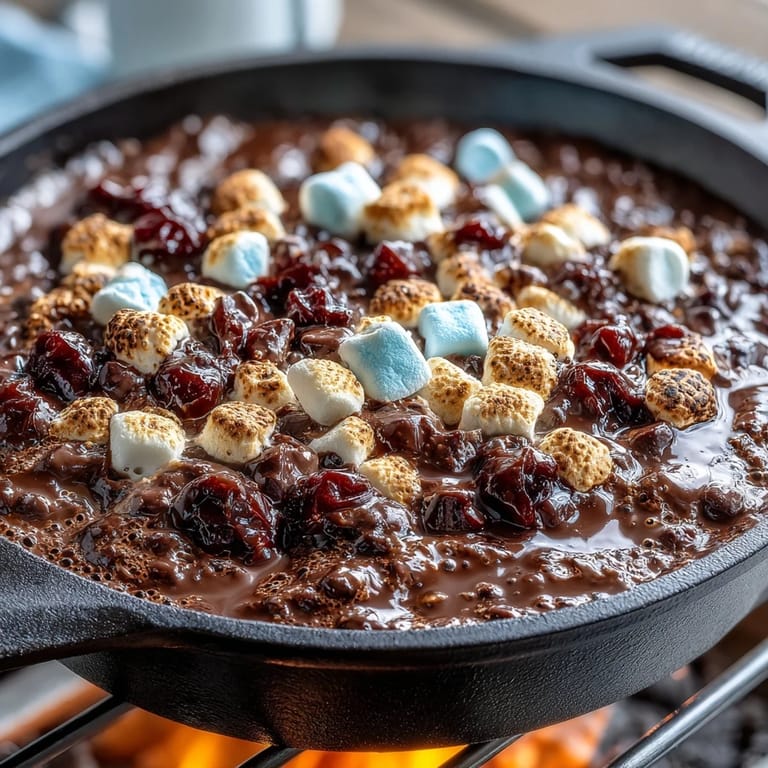
 There's something about watching marshmallows puff up and turn golden in the oven that makes you feel like you've unlocked a kitchen secret, even though it takes barely twenty minutes start to finish. Last summer, I brought this skillet dip to a backyard gathering, and within minutes there was a crowd gathered around it like moths to a flame, everyone debating whether to dip with graham crackers or strawberries. The cast iron kept everything warm and bubbling just long enough for people to come back for thirds, and honestly, the festive chaos of the moment felt way better than any fancy plated dessert ever could. It's the kind of dish that works just as well for a casual Tuesday night as it does for the Fourth of July, which is exactly why I keep making it.
My neighbor brought homemade cookies to a Fourth of July potluck once, and they were gone in ten minutes while her homemade brownies sat untouched for an hour. That's when I realized people want something interactive, something warm that makes them feel like part of the action, not just another dessert to eat politely. This dip became my answer to that craving—you hand people a graham cracker, they dunk it themselves, and suddenly everyone's laughing about who got the biggest marshmallow bite. Food that gets people involved always wins.
Ingredients
- Semi-sweet chocolate chips (2 cups): These melt smoothly without seizing up, and the slight bitterness balances the marshmallow sweetness perfectly—I've learned the hard way that cheap chocolate chips don't melt as cleanly.
- Unsalted butter (1 tablespoon): Just enough to help the chocolate flow and create that silky texture when you stir it together, nothing more needed.
- Large marshmallows (3 cups): They need to be large enough to toast evenly without falling through the cracks, and fresh marshmallows will puff better than ones sitting in your pantry for months.
- Graham crackers (16, broken into pieces): The vehicle for getting dip into your mouth, and breaking them ahead of time saves the awkward moment of crunching loudly while everyone's eating.
- Red, white, and blue chocolate candies (1/4 cup, optional): These add visual punch if you're leaning into the patriotic vibe, but the dip is equally delicious without them.
- Strawberries and blueberries (1 cup each, optional): Fresh fruit cuts through the richness and gives people who want something lighter a reason to keep dipping.
Tired of Takeout? 🥡
Get 10 meals you can make faster than delivery arrives. Seriously.
One email. No spam. Unsubscribe anytime.
Instructions
- Get your oven ready:
- Preheat to 400°F—this temperature is hot enough to melt chocolate quickly without scorching it, and toasts marshmallows to that perfect golden-brown state. If your oven runs hot, you might finish a minute or two early, so start checking around the 4-minute mark.
- Melt the chocolate base:
- Toss the chocolate chips and butter into your cast iron skillet and slide it into the oven for 3 to 4 minutes until the chocolate looks glossy and soft. Pull it out carefully (the skillet handle will be hot), and stir until you've got a smooth, glossy pool of chocolate with no streaks.
- Layer on the marshmallows:
- Arrange your marshmallows in a single layer over the chocolate, pressing gently so they settle in and stay put. They should cover the entire surface, with maybe just a tiny edge of chocolate peeking through.
- Toast until golden:
- Back into the oven for 5 to 7 minutes—you're looking for the tops to turn a deep golden brown with just a hint of caramelization on the edges. Watch closely toward the end because the line between perfect toast and slightly burnt happens faster than you'd think.
- Add festive touches (if you're going there):
- Once the marshmallows come out of the oven, sprinkle your red, white, and blue candies over the top while everything's still warm and sticky so they'll stay put.
- Cool just slightly, then serve:
- Give it 3 to 5 minutes to cool enough that you won't burn your mouth, but not so long that the marshmallows start to firm up. Serve warm with graham crackers, berries, or whatever you want for dipping.
 Pin This
 Someone's kid once asked if this was "actually a campfire but in an oven," and I realized that's exactly what makes it work—it captures that campfire s'mores feeling without anyone having to sit outside in the dark swatting mosquitoes. That question from a seven-year-old made me understand why this dish shows up at so many summer gatherings.
Why Cast Iron Makes All the Difference
Cast iron skillet cooking feels like magic the first few times you do it, but there's actual science happening—the metal distributes heat evenly and retains it stubbornly, which means your chocolate stays melted and your marshmallows stay warm even after the oven's been off for five minutes. I've tried making this in a regular ceramic baking dish, and the dip turned into a sad, congealed puddle within minutes. The cast iron keeps everything at that exact temperature where chocolate is still glossy and marshmallows are still soft, which is honestly the whole point of the dish.
The Art of Marshmallow Toasting
There's a rhythm to watching marshmallows toast—they look pale and unchanged for a few minutes, then suddenly they're turning golden, and if you miss that moment by ninety seconds you're dealing with brown spots instead of that even caramelization. The edges will darken faster than the center, which is totally normal and actually adds flavor. My advice is to set a timer for 5 minutes, take a peek, and then check every 30 seconds after that because every oven behaves differently based on how it's insulated and how close your rack sits to the heating element.
Make It Your Own
The beauty of a dip is that you can hack it however you want and nobody's going to call you out for straying from tradition. I've made versions with a sprinkle of sea salt over the chocolate (the salt makes the sweetness taste richer somehow), drizzled peanut butter into the chocolate layer before baking, and even topped it with crushed graham crackers for texture. One time I used colored marshmallows instead of regular ones, and the whole thing looked like a patriotic celebration without any extra effort. The dip is forgiving enough that you can experiment.
- Add a pinch of sea salt to the melted chocolate layer for a sophisticated sweet-salty balance.
- A drizzle of peanut butter swirled into the chocolate before toasting marshmallows creates an unexpected flavor combination.
- Keep the cast iron on the table as you serve so people can grab warm dip for as long as it lasts.
 Pin This
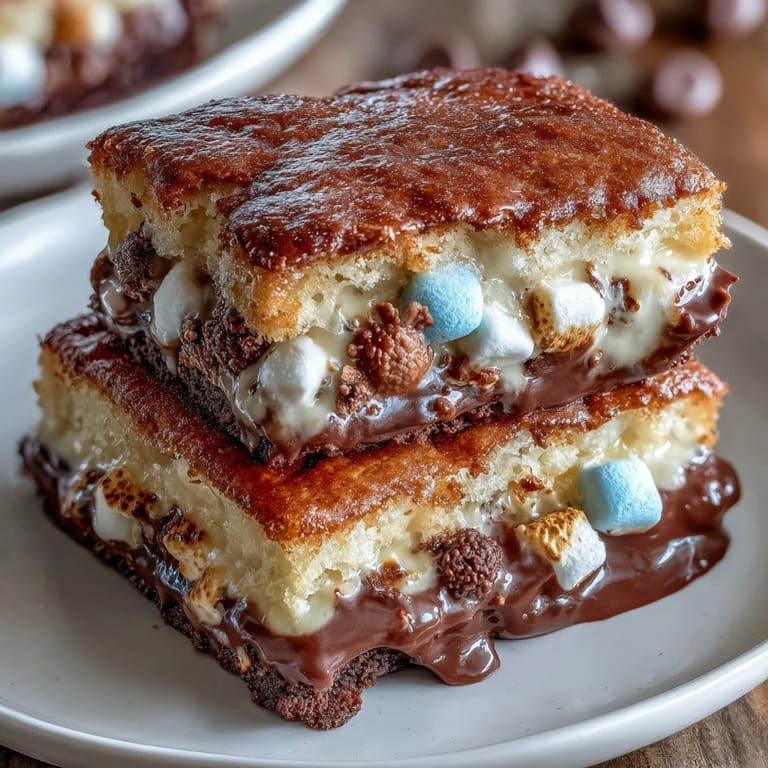
 This dip is the kind of dessert that gets people talking and reaching back in for just one more graham cracker, which is really all you can ask for on a summer night. Make it once and you'll find yourself bringing it to every gathering after that.
Frequently Asked Questions
- → What type of chocolate works best for this dip?
Semi-sweet chocolate chips melt smoothly and balance sweetness, making them ideal for this dip.
- → Can I substitute marshmallows with flavoured varieties?
Yes, flavored or colored marshmallows can add a unique taste and festive appearance to the dip.
- → Is a cast iron skillet necessary?
A cast iron skillet helps evenly distribute heat, producing a perfect melty base with toasted marshmallow topping.
- → How long should the dip cool before serving?
Let the dip cool for 3–5 minutes to slightly firm up while keeping the warm, gooey texture ideal for dipping.
- → What are the best dippers to serve alongside?
Graham crackers, sliced strawberries, and blueberries offer crunchy and fresh options that complement the rich dip layers.